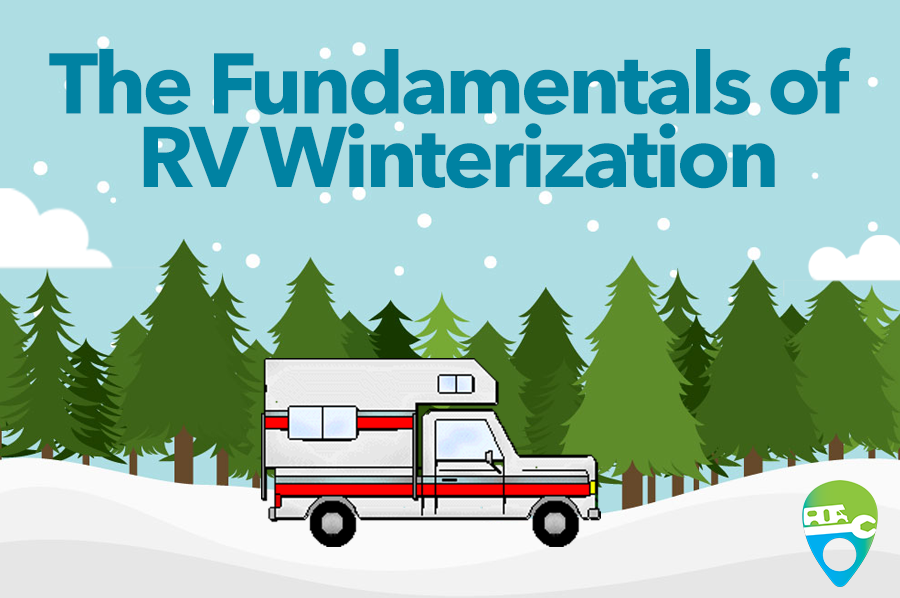
The Fundamentals of RV Winterization
Posted On by Staci Ritchie-Roman
RV Winterization Tips
It’s that time of year again! The air is crisp, the temperatures are dropping, and the promise of snow is on the horizon for many parts of the country. If you’re one of the thousands of RVers who must put your home-on-wheels away for the season, you’ll want to make sure you follow important RV Winterization guidelines before doing so. Carefully preparing your RV to sit in frigid temperatures will ensure that your rig is ready to go when the sun finally does return in spring. Follow our RV Winterization Fundamentals to learn more about this important process:
1) Plan for Pests

You may not be enjoying your RV all winter, but mice and pests just might take up residence in your absence! Remove all food from your rig, even items that won’t spoil like dried and canned goods. This quick act will make your RV a less enticing home for furry creatures.
Next, stash items like mothballs, rodent repellent tablets, or peppermint oil around entrances to your rig, and in cupboards. Pests aren’t fond of these smells, and are less likely to enjoy a winter spent in your home-on-wheels.
2) Protect Your Engine
If you have a motorized RV, it’s hugely important that you prepare your engine for chilly temps. Start by completing any scheduled maintenance before fall ends. An engine clear of any lingering issues or impurities makes a much better blank canvas for RV winterization.
Fill your radiator with automotive antifreeze. Make sure all fluids are at manufacturer recommended levels, including your oil and brake fluid. Just before you place the RV in storage, make sure to top off your fuel tanks to prevent any condensation issues.
3) Prepare your RV Plumbing
Prepping your pipes and water tanks for cooler temperatures is easily the most complicated component of RV winterization. We’ll do our best to break this down into a few simple steps.
First, remove any inline water filters. Next up, drain your tanks: fresh water, gray, and black. If your RV doesn’t have a flushing system, make sure to clean your black tank with a wand. Once your water heater is cool and under no pressure, drain it, remove the drain plug, and open the pressure relief valve. Open all faucets, including the toilet valve and outside shower, and clear the lines with air pressure below 50 psi.
Shut off the hot water tank bypass, then pump non-toxic RV Antifreeze throughout your entire water system, ensuring that none of the water left behind will freeze during winter. Once this process has begun, you can close all open valves.
4) Unplug and Power Down
Start by topping off fluid levels in all batteries, and ensure they are fully charged. If you have an RV with only one battery, remove it for the winter. Store the battery somewhere safe and dry, and never store directly onto concrete as this allows the battery to drain.
If your RV boasts 3+ batteries, disconnect your cables. If you’re preparing for extreme cold, remove all batteries, and follow the same storage instructions as above.
Don’t forget to give your appliances some love too! Remove batteries from remotes, clocks, and other small electronics to prevent them from leaking.
5) Take Care of the Tires
Tire care is pretty simple, but hugely important for preventing future issues. Make sure your rig’s tires are clean and properly inflated. If your RV will be in direct sunlight, install tire covers to stop potential UV damage, which can occur even in freezing temps.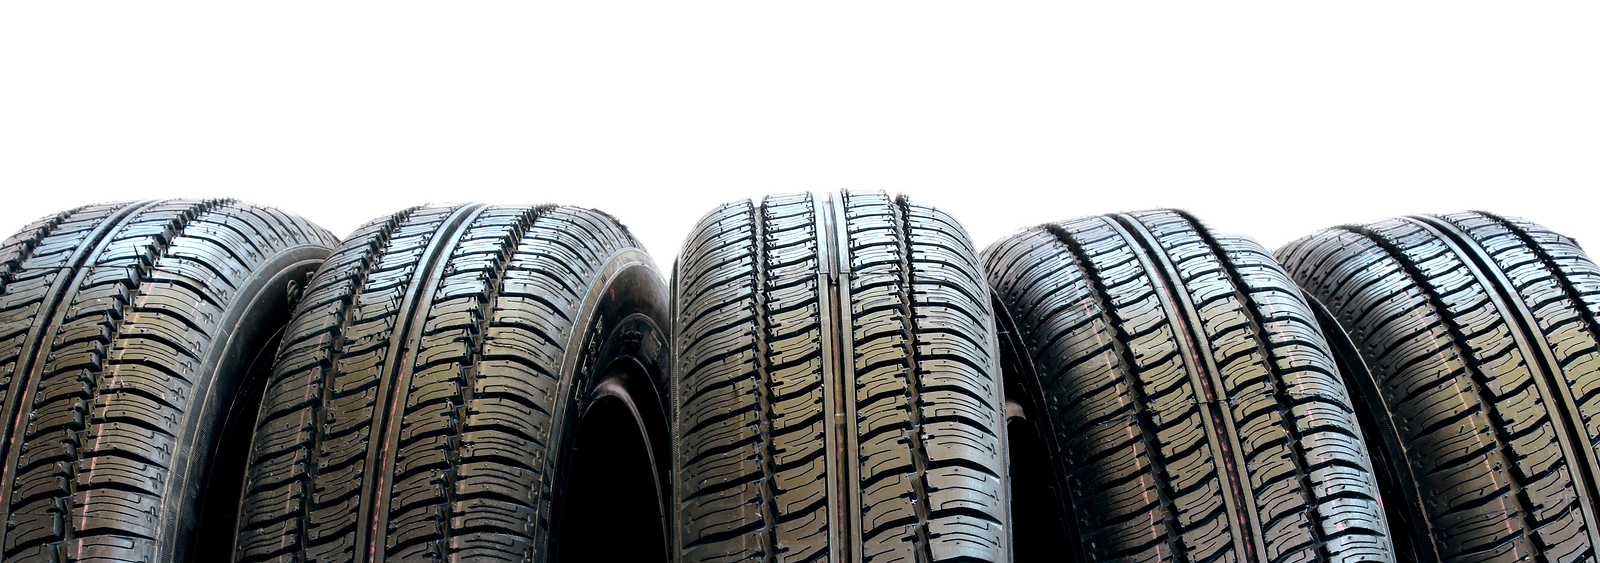
6) Batten Down the Hatches
Once you’re confident that all of your internal systems are prepared for winter, close up your RV tight to ward off weather damage. Check weather stripping for cracks, and repair any issues you find. Close your roof vents, and slip a cover over your contracted awning. Check out your local RV Supply store and consider investing in “Moisture Control” products. Keeping this in your rig can stop naturally damp air from causing mold and mildew from forming during the cooler months.
Lastly, shelter your home-on-wheels using a sturdy RV cover, or invest in winter storage.
These tricks are a great start to your RV winterization routine, but keep in mind that nearly every component in your RV can be damaged by freezing temps. If you’re interested in more information on fool-proof RV winterization, use our RV Service Center locator to find a trusted mechanic in your area.
Have a tip you’d like to share with fellow RVers? We want to hear from you in the comment section below!
Top Winter Maintenance Tips For Your RV
Posted:2024-11-20 18:30:53
[…] safety. If you are planning to fully winterize your RV and store it for the winter, check out The Fundamentals of RV Winterization at our sister site, RV Repair […]
The Ultimate Guide to Winterize Your RV | Wholesale Warranties
Posted:2024-08-14 20:13:55
[…] The Fundamentals of RV Winterization […]